
Argentine Dulce de Leche: A Simple Homemade Recipe Guide

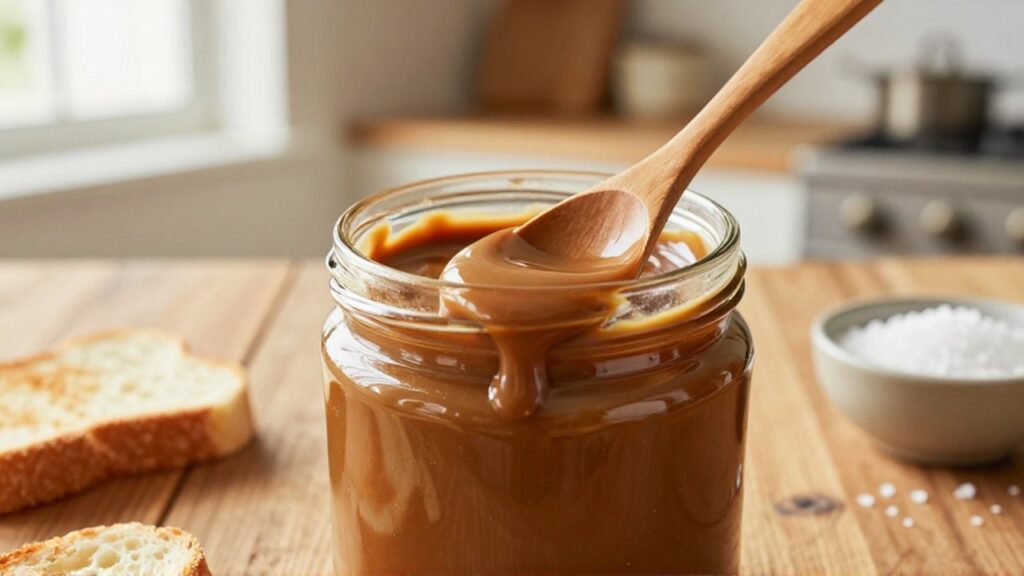
If you have ever visited a bakery in Buenos Aires or shared a dessert in a Latin American household, you have undoubtedly encountered dulce de leche. Often translated as "milk candy," this thick, creamy, caramel-like sauce is a cornerstone of Argentine confectionery. Unlike the standard caramel sauce used in many American desserts, which is made by melting sugar, dulce de leche is created through the slow cooking of milk and sugar, resulting in a deep, milky, and complex flavor profile that is much more nuanced than simple burnt sugar.
For the home cook in the United States, mastering this recipe is a way to bring an authentic touch to classic desserts like alfajores (shortbread sandwich cookies filled with dulce de leche) or simply to enjoy it spread on toast or drizzled over pancakes. While many high-quality brands are available in US supermarkets, making it at home allows you to control the texture and the intensity of the flavor. This guide will walk you through the traditional stovetop method, providing you with clear instructions, necessary ingredient substitutions, and tips to ensure a smooth, decadent result without the need for specialized equipment.
Understanding the Ingredients and Substitutions
The beauty of dulce de leche lies in its simplicity. At its most basic, it requires only two primary ingredients: milk and sugar. However, the quality and type of milk you choose will significantly impact the final consistency and richness of the sauce. In the United States, you have a wide variety of milk options, but for the most traditional result, whole milk is the gold standard. The higher fat content in whole milk aids in the emulsification process and contributes to a silky, luxurious mouthfeel.

If you cannot find high-quality whole milk, avoid using skim or fat-free milk, as the lack of fat can lead to a grainy texture or a sauce that is too thin. If you prefer to use a different dairy option, heavy cream can be added to whole milk to increase the richness, though this will make the final product even denser. While some modern variations experiment with plant-based milks, such as oat or coconut milk, these will not yield the traditional "milky" flavor profile that defines Argentine dulce de leche. For the sugar, standard granulated white sugar is the most efficient choice for achieving a consistent caramelization. You may substitute a small portion of the white sugar with light brown sugar if you desire a deeper, more molasses-like undertone, but be aware that this will slightly alter the classic flavor profile.
A pinch of salt and a small amount of vanilla extract are highly recommended. The salt acts as a flavor enhancer, balancing the intense sweetness, while the vanilla provides an aromatic depth that complements the cooked milk. Because this recipe involves long simmering times, ensure your ingredients are fresh to avoid any "cooked" off-flavors emanating from old dairy.
The Traditional Stovetop Method
Making dulce de leche on the stovetop requires patience rather than high heat. The goal is to evaporate the water content in the milk while simultaneously undergoing the Maillard reaction—the chemical process that browns the sugars and proteins to create that iconic tan color and toasted flavor. This is a slow process that cannot be rushed; increasing the heat to speed up evaporation often leads to scorching the bottom of the pan, which can ruin the entire batch with a bitter taste.
To begin, select a heavy-bottomed saucepan. A heavy base is crucial because it distributes heat more evenly and helps prevent hot spots that cause burning. You will need a whisk and a sturdy wooden spoon to ensure the mixture is constantly agitated.
Ingredients
- 2 cups (480 ml) whole milk
- 2/3 cup (135 g) granulated white sugar
- 1/4 teaspoon (1.5 g) salt
- 1 teaspoon (5 ml) vanilla extract
Instructions
- In a heavy-bottomed saucepan, combine the whole milk and granulated sugar. Do not add the salt or vanilla yet.
- Place the saucepan over medium heat and stir constantly until the sugar has completely dissolved into the milk.
- Once the mixture begins to simmer gently, reduce the heat to low. You want a very slow, steady simmer, not a rolling boil. Small bubbles should occasionally break the surface.
- Continue to cook, stirring frequently with a wooden spoon or heat-resistant spatula. It is particularly important to scrape the sides and the bottom of the pan as the mixture thickens to prevent a skin from forming and to stop any milk solids from sticking and burning.
- As the mixture reduces, it will change from white to a pale cream color, and eventually to a rich, deep caramel brown. This process typically takes between 45 and 60 minutes, depending on the evaporation rate.
- Periodically check the consistency. The dulce de leche is ready when it has thickened significantly and coats the back of a spoon heavily. If you draw your finger through the sauce on the spoon, the path should remain clear.
- Once the desired thickness is reached, remove the pan from the heat.
- Stir in the salt and the vanilla extract. The sauce will continue to thicken significantly as it cools.
- Transfer the dulce de leche to a clean glass jar and allow it to cool completely at room temperature before transferring it to the refrigerator.
Troubleshooting Texture and Flavor
One of the most common concerns when making homemade dulce de leche is the texture. A perfect batch should be smooth and spreadable. If you find that your sauce has become grainy, this is usually due to the sugar not being fully incorporated or the milk solids crystallizing. To prevent this, ensure you stir the mixture frequently and do not allow the temperature to spike too high. If you do end up with a slightly grainy texture, you can attempt to fix it by passing the warm sauce through a fine-mesh sieve or by quickly pulsing it in a blender, though this may slightly change the aeration of the sauce.
Another common issue is the thickness. If your dulce de leche is too thin, it likely needs more cooking time to evaporate more moisture. If it is too thick or has become a hard candy, you may have cooked it for too long or used too much sugar. Keep in mind that the sauce will always appear much thinner while hot than it will once it has cooled in the refrigerator. Always test the thickness by using the "spoon test" mentioned in the instructions.
Regarding flavor, if the sauce tastes too much like plain sugar, it may need a bit more time to develop the roasted notes, or a slightly larger pinch of salt to balance the sweetness. Conversely, if it tastes bitter, you have likely scorched the milk solids at the bottom of the pan. Once a batch has developed a burnt, bitter flavor from scorching, it is difficult to correct, so maintaining low, even heat is the best preventative measure.
Storage and Food Safety
Once your dulce de leche has cooled completely, store it in an airtight container, such as a glass mason jar. Because this is a high-sugar, dairy-based product, it is quite shelf-stable compared to plain milk, but it still requires refrigeration to maintain its quality and safety. In the refrigerator, homemade dulce de leche will typically stay fresh for up to two to three weeks.
When handling the recipe, follow standard food safety practices regarding dairy. Ensure that all utensils and containers used are clean. When reheating the sauce for use in a recipe, do so gently over low heat or in short bursts in the microwave to prevent separation or burning. If you notice any changes in smell, visible mold, or unusual discoloration, discard the batch immediately.
Frequently Asked Questions
Can I make dulce de leche in a slow cooker?
Yes, you can use a slow cooker to achieve a very hands-off version. Combine the milk and sugar in the slow cooker and cook on low for several hours, stirring occasionally, until the desired color and thickness are reached. This method is excellent for preventing burning, though it may take longer than the stovetop method.

Why is my dulce de leche darker than store-bought versions?
The color of dulce de leche is determined by how long it simmers. Store-bought versions often use stabilizers or specific temperature controls to achieve a uniform color. At home, the longer you cook it, the darker and more intense the flavor will become. If you want a lighter version, stop the cooking process earlier.
Is it possible to make this without constant stirring?
While you don't need to stir every single second, you should stir very frequently. The milk solids settle at the bottom of the pan very quickly once the mixture begins to thicken. Neglecting to stir can cause the bottom layer to burn, which will permeate the entire batch with a bitter flavor.
Leave a Reply
Related posts