
Refreshing Caribbean Guava and Coconut Ice Cream Guide

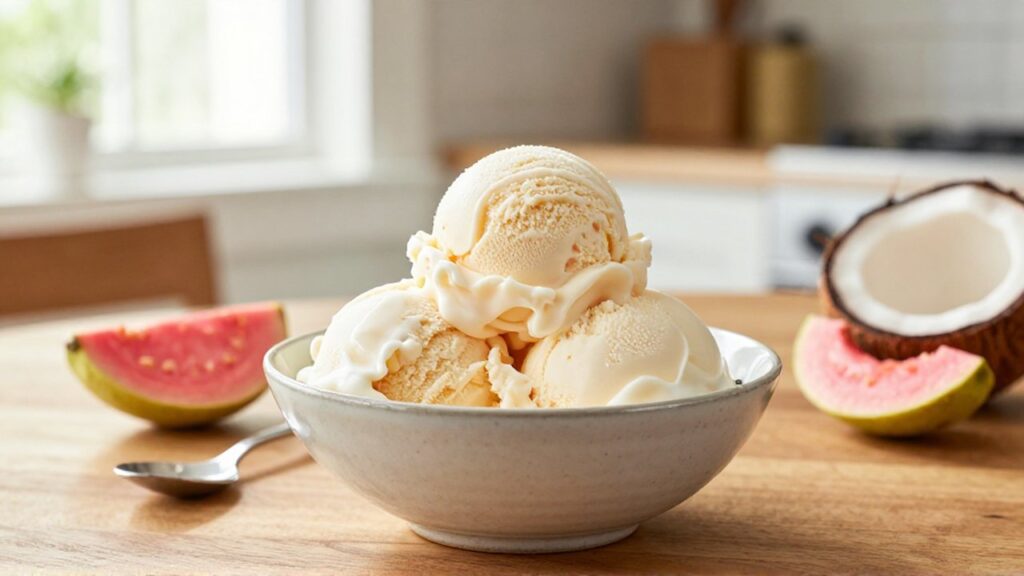
Guava and coconut are two of the most iconic flavor profiles found across the Caribbean and Latin American islands. When combined, they create a tropical symphony that is both creamy and bright, making them the perfect foundation for a homemade frozen dessert. This guide focuses on creating a high-quality Guava and Coconut Ice Cream (helado de guayaba y coco), a dessert that brings the warmth of the islands to your freezer. For the American home cook, this recipe provides a way to access these exotic flavors using common supermarket ingredients while maintaining the soul of the original tropical pairing.
This guide is designed to teach you how to balance the intense, floral sweetness of guava with the rich, fatty smoothness of coconut. Unlike mass-produced ice creams that often rely on artificial flavorings, this version uses real fruit and coconut milk to achieve a complex depth of flavor. Whether you are looking to impress guests at a summer gathering or simply want a more sophisticated treat for your family, following these steps will result in a professional-grade dessert that tastes as though it were made in a seaside kitchen in Havana or San Juan.
Understanding the Ingredients
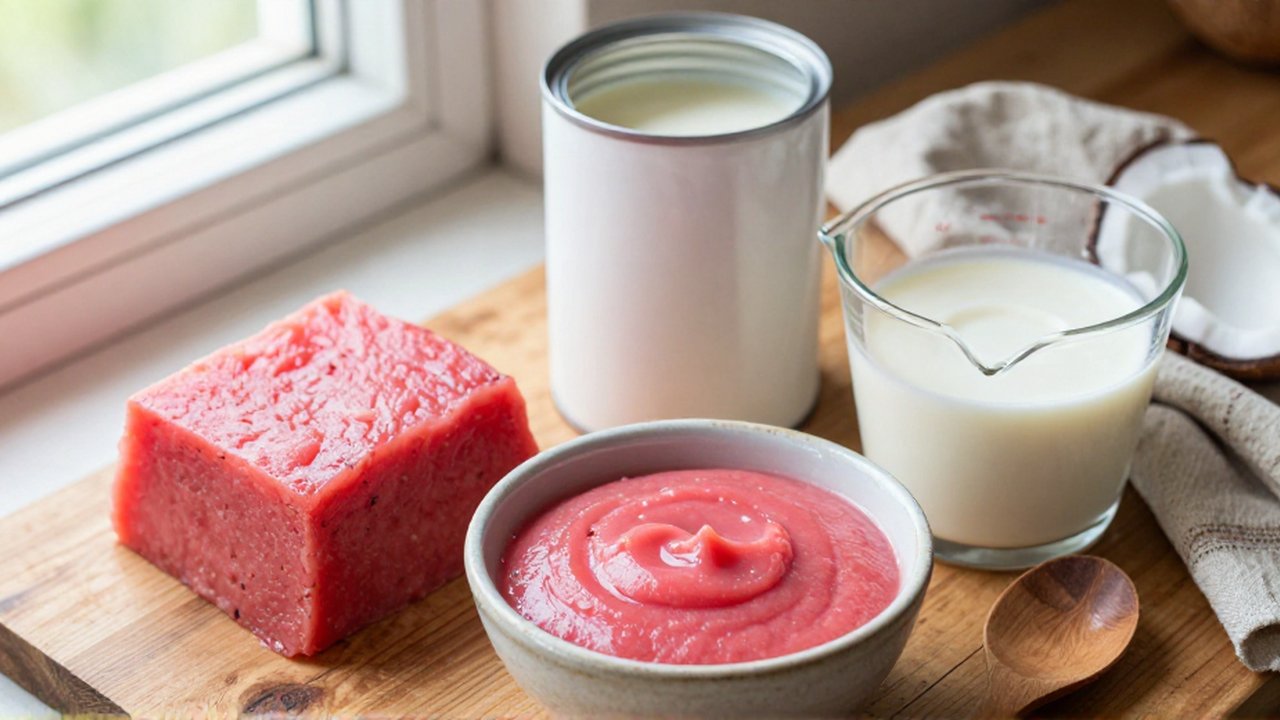
To achieve the best results, you must understand the roles played by your primary ingredients. The two pillars of this recipe are guava, which provides the acidity and aroma, and coconut, which provides the fat and creaminess. Because we are aiming for a premium texture, the quality of these two items will significantly impact the final outcome.
For the guava component, you will ideally look for guava paste (pasta de guayaba) or guava nectar in the international aisle of your local supermarket. Guava paste is a dense, concentrated fruit jelly that is common in Latin American markets; it is excellent for creating a thick, flavorful swirl. If you cannot find guava paste, you can use high-quality guava nectar, though you may need to reduce it on the stove to concentrate the flavor. If neither is available, a well-strained puree made from fresh guava fruit is an excellent substitute, though the flavor profile may be slightly more subtle.
The coconut element is best handled using full-fat canned coconut milk. It is important to note that "coconut milk" in a can is very different from the thin, carton-based "coconut milk" found in the dairy or non-dairy aisle used for cereal. For ice cream, you need the high fat content found in the canned version to ensure the dessert is creamy rather than icy. If you prefer an even richer texture, you can use a combination of canned coconut milk and heavy cream, which is a popular variation in many households.
Ingredients List
This recipe yields approximately 1 quart (950 ml) of ice cream.
- 1 cup (240 ml) guava paste, cut into small cubes, or 1 cup (240 ml) concentrated guava nectar
- 1 can (13.5 oz / 400 ml) full-fat coconut milk, shaken well before opening
- 1 cup (240 ml) heavy cream
- 3/4 cup (150 g) granulated sugar, plus extra for the guava swirl
- 1/2 teaspoon (2.5 g) fine sea salt
- 1 teaspoon (5 ml) pure vanilla extract
- 1 tablespoon (15 ml) fresh lime juice (to brighten the guava)
- Optional: 1/2 cup (40 g) sweetened shredded coconut for texture
Step-by-Step Preparation
Making ice cream at home is a process of emulsification and freezing. This recipe uses a custard-style base method, which provides the most stable and luxurious mouthfeel.
- Prepare the guava swirl: If using guava paste, place the cubes in a small saucepan with 2 tablespoons of water and 1 tablespoon of sugar. Heat over medium-low heat, stirring constantly, until the paste melts into a smooth syrup. If using nectar, simply simmer it in a pan for 10 minutes to reduce it slightly. Set this mixture aside to cool completely.
- Heat the coconut base: In a medium saucepan, combine the full-fat coconut milk, heavy cream, and 3/4 cup of granulated sugar. Heat the mixture over medium heat, stirring frequently, until the sugar has completely dissolved and the liquid is steaming but not boiling. Avoid a rolling boil, as this can cause the coconut milk to separate or become greasy.
- Incorporate flavor and thicken: Remove the saucepan from the heat. Whisk in the sea salt and the vanilla extract. If you are using a traditional custard method requiring egg yolks, you would temper them into the warm liquid at this stage; however, for this coconut-heavy version, we will rely on the natural fats and a brief chilling period to stabilize the base.
- Chill the base: Pour the warm mixture into a bowl and stir in the lime juice. This acidity helps balance the richness of the coconut. Cover the surface of the liquid directly with plastic wrap to prevent a skin from forming, and refrigerate the mixture for at least 4 to 6 hours, or preferably overnight. A truly cold base is the secret to avoiding large ice crystals.
- Churn the ice cream: Pour the chilled coconut base into your ice cream maker and churn according to the manufacturer's instructions (usually 20 to 30 minutes).
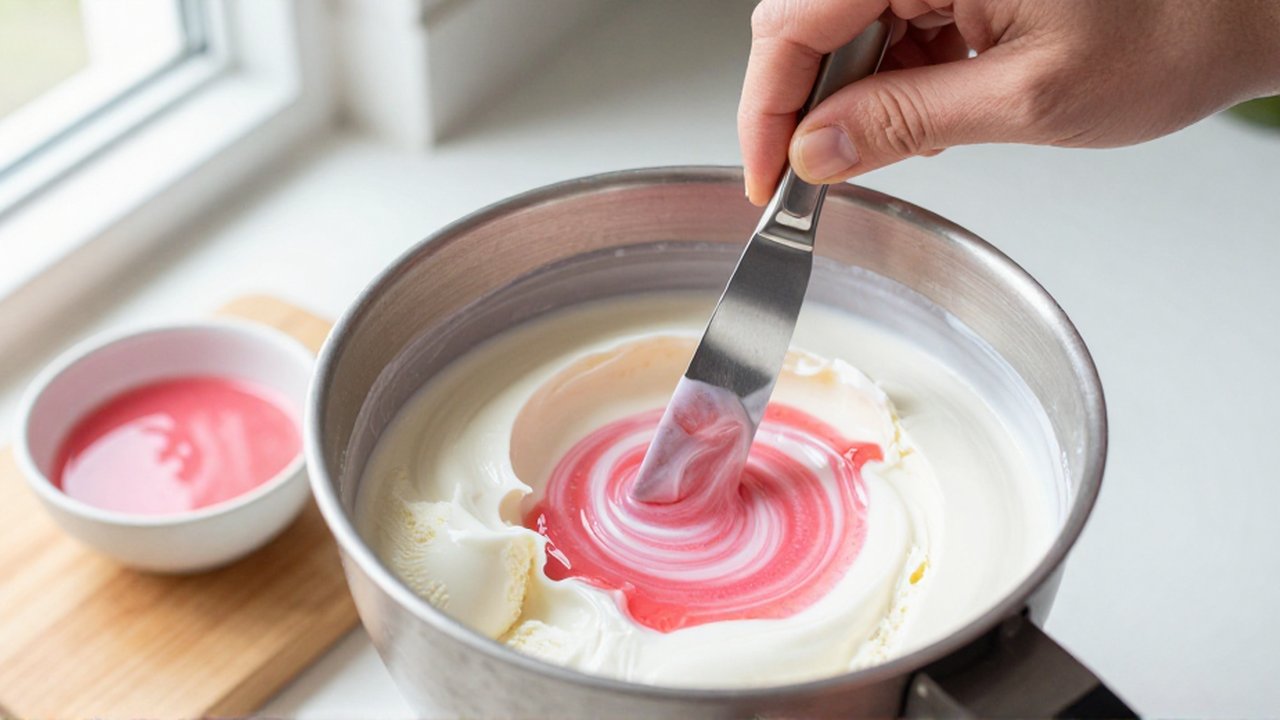
- The Swirl Technique: Once the ice cream reaches a soft-serve consistency, do not add the guava yet. Instead, transfer half of the churned ice cream into a freezer-safe container. Drizzle half of your prepared guava syrup over the top. Add the remaining ice cream, then the rest of the guava syrup. Use a butter knife to gently swirl the guava through the coconut base in a figure-eight motion. Do not over-mix, or you will end up with pink ice cream rather than a beautiful swirl.
- Final Freeze: Place the container in the freezer for at least 4 hours to "ripen" the ice cream, which allows it to firm up to a scoopable consistency.
Variations and Troubleshooting
There are several ways to adapt this recipe to suit different preferences or available pantry items. One common variation is the "Toasted Coconut Version." To do this, lightly toast shredded coconut in a dry pan over medium heat until golden brown. Fold this into the ice cream during the last five minutes of churning for an added crunch that contrasts with the smooth cream.
If you find the ice cream is too hard to scoop after freezing, it may be due to a lack of sugar or fat. If you are using a lower-fat coconut milk, the ice cream will be more prone to icy textures. To prevent this, always ensure you are using the highest fat content available. If the ice cream is already frozen and too hard, let it sit on the counter for 5 to 10 minutes before attempting to scoop.
Another variation is the "Spiced Caribbean" style. Many tropical regions enjoy the addition of warm spices. Adding 1/4 teaspoon of ground cardamom or a pinch of cinnamon to the coconut milk while heating can elevate the floral notes of the guava and create a more complex, aromatic dessert.
Frequently Asked Questions
Can I make this recipe without an ice cream maker?
Yes, you can use the "no-churn" method. To do this, whip 1.5 cups of heavy cream to stiff peaks and gently fold it into a mixture of sweetened condensed milk and your coconut milk/guava components. However, the texture will be slightly lighter and more mousse-like than the traditional churned version.

How long can I store the leftovers?
Store the ice cream in an airtight, freezer-safe container. For the best quality, consume it within two weeks. After that, the ice cream may begin to develop ice crystals on the surface or lose some of its intense tropical aroma.
What is the best way to serve this dessert?
To lean into the Caribbean theme, serve this ice cream alongside slices of fresh mango or passion fruit. The tartness of passion fruit (maracuyá) cuts through the coconut fat beautifully. You can also serve it with a small piece of toasted coconut wafer for added texture.
Is it possible to use fresh guava instead of paste?
Yes, but it requires more work. You would need to blend fresh guava pulp, strain it through a fine-mesh sieve to remove all the hard seeds, and then use that strained puree as your flavoring agent. Because fresh guava has more water content than paste, you may need to reduce it on the stove to ensure the ice cream doesn't become icy.
Leave a Reply
Related posts