
Creamy Mexican Refried Beans Using Canned Pinto Beans

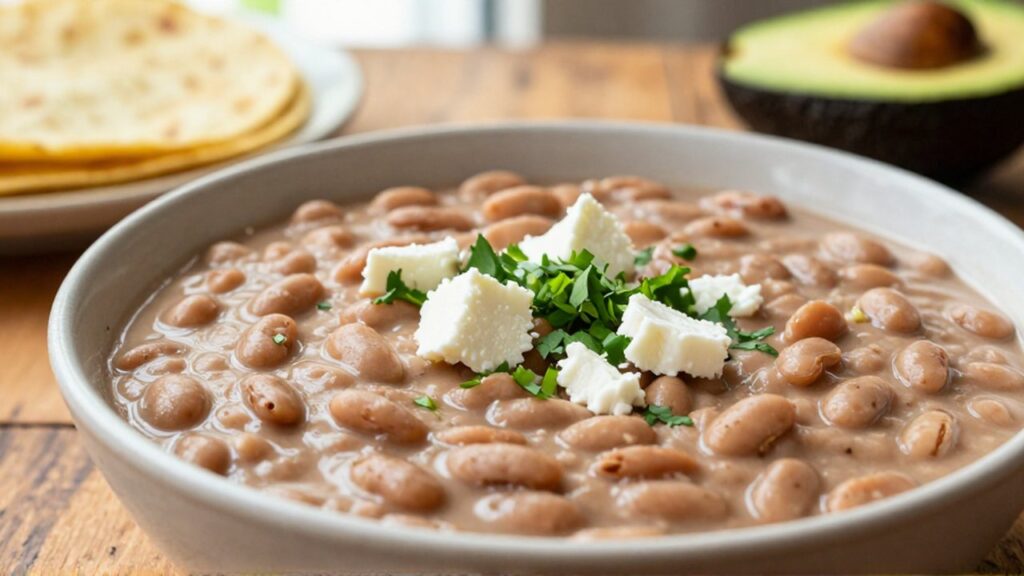
In many Latin American households, particularly in Mexican cooking, frijoles refritos (refried beans) are more than just a side dish; they are a fundamental component of a balanced meal. While traditional methods often involve soaking dry beans overnight and simmering them for hours until tender, the modern, busy home cook can achieve an equally delicious, velvety result using a shortcut that saves time without sacrificing flavor: canned pinto beans. Using canned beans allows you to bypass the long prep and cook times of dried legumes while providing a convenient base for a creamy, savory side dish that pairs perfectly with tacos, enchiladas, or grilled meats.
The term "refried" is actually a bit of a misnomer. In Spanish, refritos literally means "well-fried," but the process doesn't involve frying the beans from a dry state. Instead, it refers to the technique of mashing cooked beans and then frying them in fat—such as oil, lard, or butter—to enhance their texture and deepen their flavor. This article will guide you through the process of transforming a standard can of pinto beans into a rich, restaurant-quality side dish. We will focus on achieving that specific creamy consistency that makes this dish a crowd favorite, using common ingredients found in any American supermarket.
Essential Ingredients and Substitutions

To make successful frijoles refritos, you need to balance the starch of the beans with enough fat and seasoning to create a luxurious mouthfeel. The foundation is a can of pinto beans, which are smaller, creamier beans common in Mexican cuisine. If you cannot find pinto beans, black beans are a perfectly acceptable substitute, though they will result in a different color and a slightly firmer texture.
The fat is the most critical component for the "creamy" aspect of this recipe. Traditionally, lard (manteca) is used to provide a deep, savory flavor, but for a more accessible version, vegetable oil, canola oil, or even unsalted butter can be used. If you choose to use butter, it will add a lovely richness but will lean the flavor profile more toward a Western style. For an extra layer of flavor, many cooks use the liquid from the bean can, though you should be mindful of the sodium content.
Here is what you will need to prepare this recipe for approximately four servings:
- 2 cans (15 ounces each) of pinto beans. Do not drain them yet; the liquid is important.
- 2 tablespoons of neutral oil (such as vegetable or canola oil) or lard.
- 1/2 small white onion, finely diced.
- 1 clove of garlic, minced.
- 1/4 cup of whole milk or heavy cream (this is the secret to the extra-creamy texture).
- 1/2 teaspoon ground cumin.
- Salt to taste (be cautious if using canned beans, as they are often pre-salted).
- Optional: 1/4 cup of shredded Monterey Jack or Chihuahua cheese for added richness.
If you prefer a bit of heat, you can add a finely diced jalapeño or a pinch of chipotle powder during the sautéing process. If you find that the beans are too thick once mashed, keep a little extra milk or some warm water nearby to adjust the consistency to your liking.
Step-by-Step Cooking Instructions
The transformation from canned beans to creamy frijoles refritos happens in two main phases: the sautéing of aromatics and the mashing of the beans. Proper heat management is key to ensuring the onions soften without burning and the beans reach the right temperature for a smooth mash.
-
Prepare the aromatics. In a medium saucepan or a heavy-bottomed skillet over medium heat, add your oil or lard. Once the fat is shimmering, add the finely diced white onion. Sauté the onion for about 5 to 7 minutes, stirring occasionally, until it becomes translucent and slightly golden. Add the minced garlic and the ground cumin, cooking for just another 60 seconds until fragrant. This step builds the aromatic base that distinguishes homemade beans from canned ones.
-
Incorporate the beans. Carefully pour both cans of pinto beans—including the liquid from the cans—into the pan with the onions and garlic. Increase the heat slightly to bring the mixture to a gentle simmer. Let the beans cook in the flavored oil for about 3 to 5 minutes. This allows the beans to absorb the flavors of the onion, garlic, and cumin.
-
Mash the beans. Using a potato masher, a sturdy fork, or the back of a large spoon, begin mashing the beans directly in the pan. For a rustic, chunky texture, mash lightly. For the creamy, smooth consistency described in this recipe, mash vigorously until most of the whole beans are broken down.
-
Achieve the creamy finish. Once the beans are mostly mashed, pour in the milk or heavy cream. Stir continuously over low heat. The starch in the beans will combine with the liquid to create a thick, velvety sauce. If the mixture looks too dry or paste-like, add more milk one tablespoon at a time until you reach your desired consistency.
-
Final seasoning. Taste the beans. This is the most important step because canned beans vary in saltiness. Add salt only if necessary. If you are using cheese, stir it in now, allowing it to melt into the beans for about a minute before removing the pan from the heat.
Tips for Perfect Consistency and Flavor
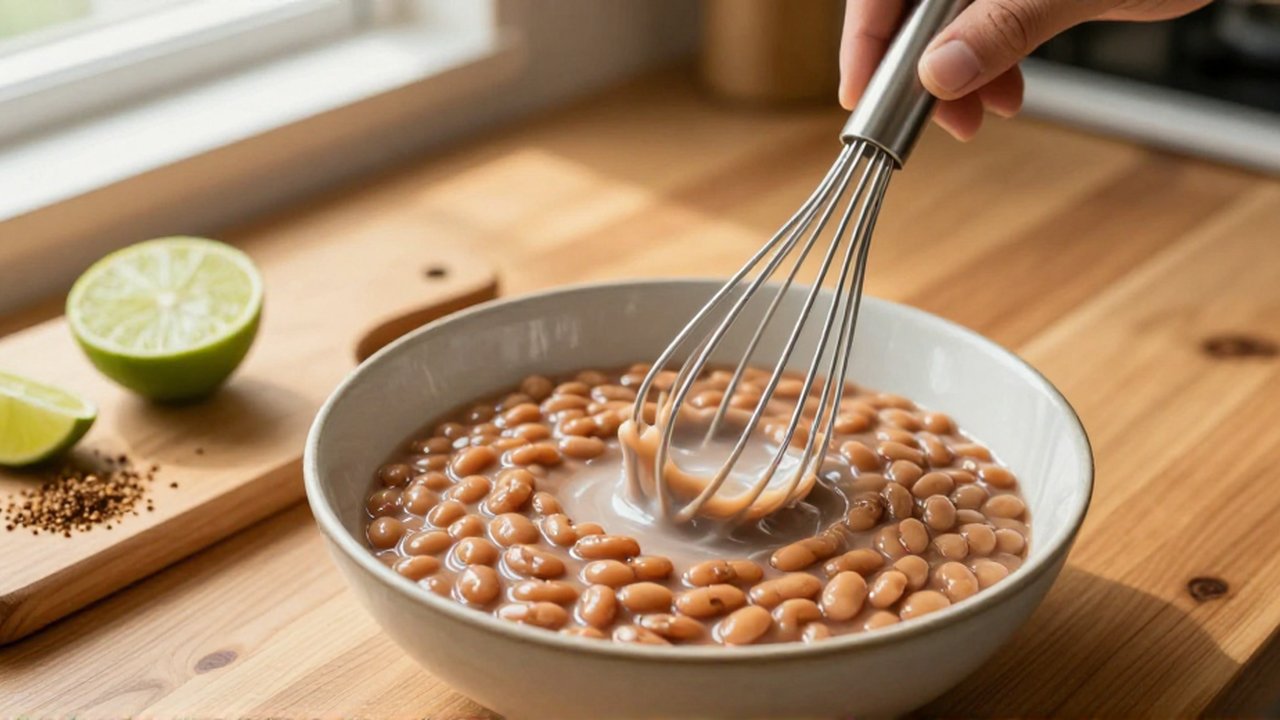
Achieving the perfect texture is often the biggest challenge for home cooks. If your beans turn out too runny, you can simmer them uncovered for a few extra minutes to allow some of the moisture to evaporate. Conversely, if they become too thick (which can happen as they cool), simply whisk in a splash of warm milk or water to loosen them up. A common mistake is skipping the sautéing of the onions; if you simply heat the beans in the microwave, you will miss the depth of flavor that comes from the fat-soluble aromatics.
To elevate the flavor further, consider the quality of your spices. Freshly toasted cumin provides a much brighter note than pre-ground versions that may have lost their oils. Additionally, if you find the flavor a bit one-dimensional, a tiny squeeze of lime juice at the very end can provide a bright acidity that cuts through the richness of the fat and cream. This balance of heavy and bright is what makes professional Latin American cooking so satisfying.
When serving, remember that these beans are best enjoyed hot. If you are preparing them in advance for a party or a large family gathering, you can store them in an airtight container in the refrigerator for up to 4 days. When reheating, do so slowly on the stovetop over low heat, adding a little extra milk or water to restore the creamy texture that often thickens during refrigeration.
Frequently Asked Questions
Can I use dried beans instead of canned?
Yes, you can, but the process is significantly different. You would first need to soak the dried pinto beans overnight, rinse them, and then simmer them in water with aromatics until they are very tender—usually 1 to 2 hours. Once the beans are soft, you would drain them (reserving some cooking liquid) and follow the steps in this recipe, starting from the sautéing of the onions. Canned beans are a much faster method, but dried beans often provide a more "from-scratch" flavor.
What is the best way to store leftovers safely?
Once you have finished cooking, allow the beans to cool slightly before transferring them to a shallow, airtight container. Store them in the refrigerator at or below 40°F (4°C). When reheating, ensure the beans reach an internal temperature of 165°F (74°C) to ensure food safety, especially if they have been sitting out during a meal.
Why are my beans grainy instead of smooth?
Graininess usually occurs if the beans weren't cooked long enough to soften their skins or if they weren't mashed thoroughly enough. If you are using canned beans, they should be soft enough. If you encounter graininess, you can use an immersion blender (sometimes called a stick blender) directly in the pan to emulsify the beans into a completely smooth puree. Just be careful not to over-blend, as too much aeration can sometimes change the texture in unexpected ways.
Leave a Reply
Related posts